
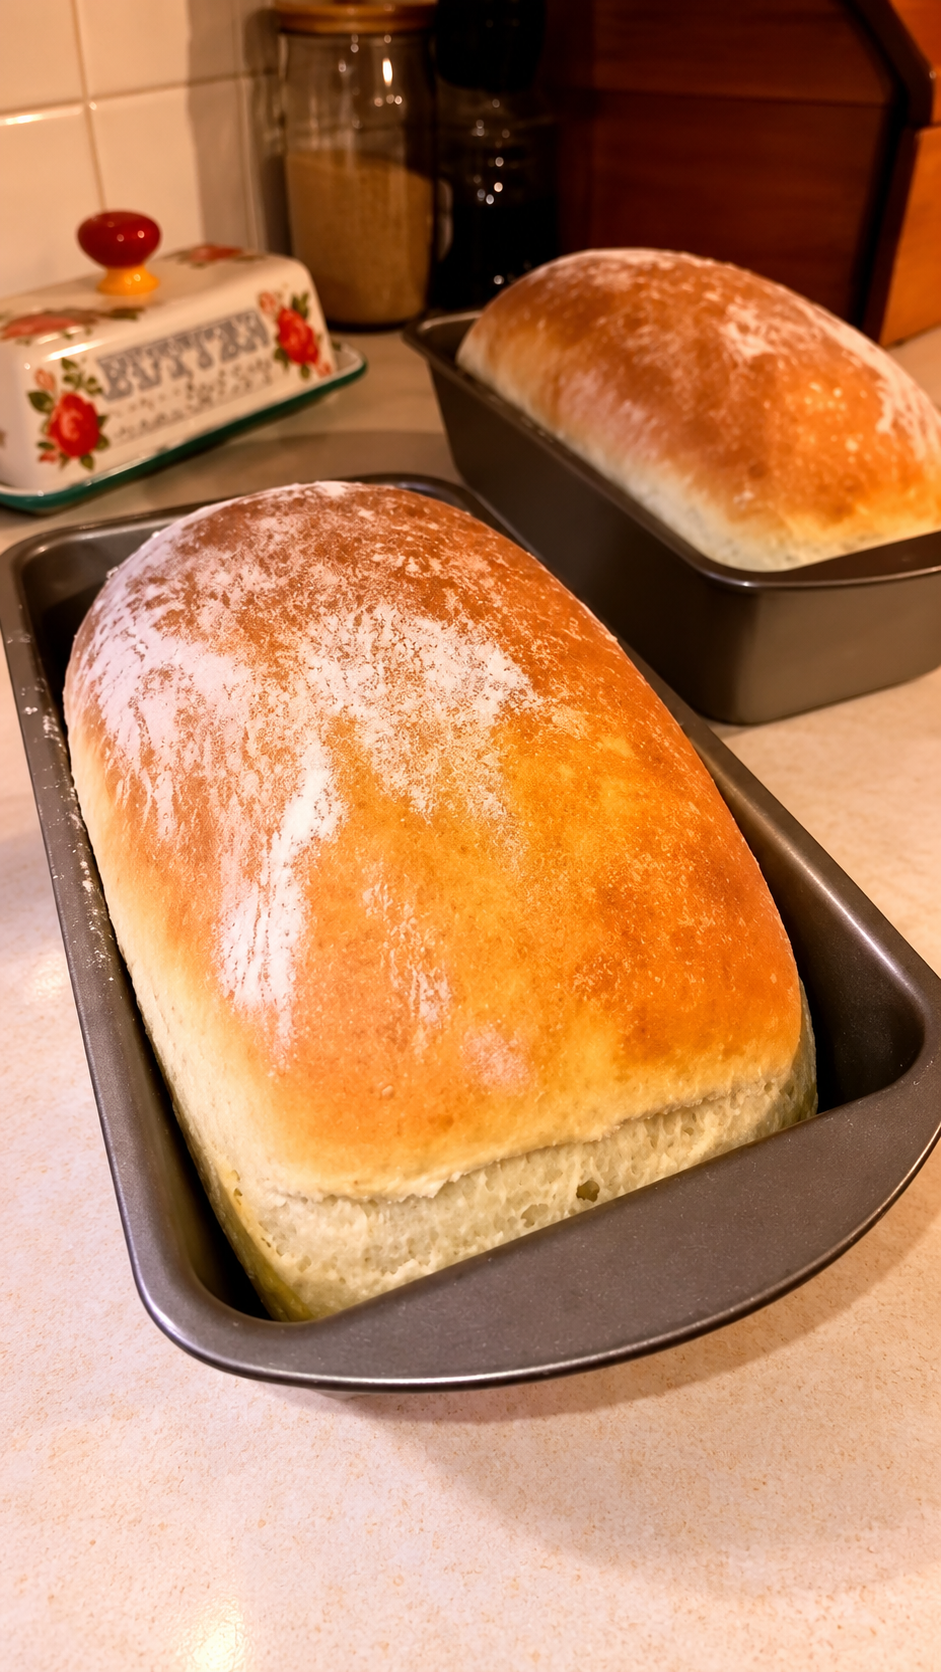
The Ultimate Guide to Baking Perfect Amish White Bread
There is perhaps no aroma more comforting than the smell of freshly baked bread wafting through a home. It evokes memories of simpler times, of warm kitchens, and of meals shared with loved ones.
Among the many bread recipes available today, Amish White Bread stands out as a true classic. It is renowned for its incredibly soft crumb, its subtle sweetness, and its beautiful golden crust.
Unlike artisan sourdoughs that require days of fermentation, this bread is remarkably approachable. It uses simple pantry staples and yields two perfect loaves every single time.
In this guide, we will explore everything you need to know to master this recipe. From understanding the ingredients to troubleshooting common baking issues, this is your complete roadmap.
Understanding the Ingredients
Before we begin, it is important to understand why each ingredient is in the bowl. Amish White Bread uses basic components, but each plays a vital role in the final texture.
Warm Water and Sugar: The warm water activates the yeast, while the sugar serves a dual purpose. It feeds the yeast to help the dough rise and adds that signature subtle sweetness to the bread.
Active Dry Yeast: This is the leavening agent that makes the bread rise. Always check the expiration date on your yeast. If it doesn’t become frothy in the first step, your bread will not rise.
Vegetable Oil: This is the secret to the bread’s incredible softness. It keeps the crumb tender and helps the loaf stay fresh for days.
Salt: Salt is crucial for flavor and structure. It tightens the gluten network, preventing the bread from collapsing, and balances the sweetness of the sugar.
Bread Flour: While all-purpose flour works, bread flour has a higher protein content. This creates more gluten, resulting in a better rise and a chewier, more structured crumb.
Step 1: Proofing the Yeast
The journey begins with proofing the yeast. In a large mixing bowl, combine two cups of warm water with two-thirds of a cup of white sugar.
The water should be warm to the touch, around 110°F to 115°F. If it is too hot, it will kill the yeast. If it is too cold, the yeast will not activate.
Stir the sugar until it dissolves, then sprinkle one and a half tablespoons of active dry yeast over the surface. Let this sit undisturbed for about ten minutes.
You will know the yeast is alive and ready when a thick, creamy foam forms on the surface. If it looks flat after ten minutes, discard the mixture and start again with fresh yeast.
Step 2: Building the Dough
Once the yeast is frothy, it is time to add the remaining ingredients. Add one and a half teaspoons of salt and a quarter cup of vegetable oil to the yeast mixture.
Next, add four cups of bread flour. Using a sturdy wooden spoon or a stand mixer fitted with a dough hook, stir the mixture until it forms a shaggy, sticky dough.
Gradually add the remaining two cups of flour, half a cup at a time. You may not need all of it. The dough is ready when it pulls away from the sides of the bowl and forms a cohesive ball.
Step 3: Kneading for Texture
Turn the dough out onto a lightly floured surface. Kneading is the most important physical step in bread making, as it develops the gluten.
Knead the dough for eight to ten minutes. Push the dough away from you with the heel of your hand, then fold it back over itself. Rotate the dough a quarter turn and repeat.
You will feel the dough transform from sticky and loose to smooth and elastic. If you poke it gently, it should spring back. This means the gluten is fully developed.
Step 4: The First Rise
Shape the dough into a smooth ball and place it in a large, well-oiled bowl. Turn the dough over once to coat the entire surface in oil, preventing it from drying out.
Cover the bowl with a clean kitchen towel or plastic wrap. Place it in a warm, draft-free spot in your kitchen.
Let the dough rise until it has doubled in bulk. This usually takes about one hour to ninety minutes, depending on the temperature of your kitchen.
Step 5: Punching Down the Dough
Once the dough has doubled, gently punch it down. This step releases the large air bubbles that formed during the first rise.
Punching down also redistributes the yeast and sugars, ensuring an even texture throughout the loaf. It prevents large, unsightly holes from forming in the final baked bread.
Turn the dough out onto a lightly floured surface. Using a sharp knife or a bench scraper, divide the dough into two equal portions.
Step 6: Shaping the Loaves
Shape each portion into a smooth loaf. Gently roll the dough into a rectangle, then roll it up tightly from the short end, tucking the seams underneath.
Pinch the seams together to seal them. Place each shaped loaf into a greased 9×5-inch loaf pan, seam side down. This ensures the top of the loaf is perfectly smooth.
Step 7: The Second Rise
Cover the loaf pans with a clean towel. Let the dough rise again in a warm spot until it has puffed up and crowned about one inch above the rims of the pans.
This second rise is crucial. It determines the final volume of your bread. If you bake it too early, the loaf will be dense. This step usually takes about thirty to forty-five minutes.
Step 8: Baking to Golden Perfection
Preheat your oven to 350°F (175°C) while the dough is finishing its second rise. Bake the loaves for thirty to thirty-five minutes.
The bread is done when the tops are a deep, golden brown and the loaves sound hollow when tapped on the bottom. The internal temperature should read 190°F.
If the tops are browning too quickly, tent the loaves loosely with aluminum foil halfway through baking to prevent them from burning.
Step 9: Cooling and Slicing
Remove the loaves from their pans immediately and place them on a wire rack to cool completely. This allows the steam to escape, preventing the crust from becoming soggy.
Waiting for the bread to cool is the hardest part, but it is essential. Slicing hot bread can tear the crumb and ruin the texture. Once cooled, slice and enjoy.
Troubleshooting Common Issues
If your bread turns out dense, it is likely due to insufficient kneading, old yeast, or under-proofing. Ensure you knead for a full ten minutes.
If the bread collapses in the oven, it may have risen too much during the second rise. Punch it down gently before shaping to avoid over-proofing.
For a softer crust, brush the hot loaves with melted butter immediately after removing them from the oven. This also adds a wonderful richness.
Serving and Storage
This Amish White Bread is incredibly versatile. It makes the perfect sandwich bread and is divine toasted with butter and jam. It also makes excellent French toast.
Store the bread in a plastic bag at room temperature for up to four days. For longer storage, slice the loaves and freeze them for up to three months.
-

Cheesy Mashed Potato Puffs
Ingredients Mashed potatoes: Use 3 cups thick, cooled mashed potatoes. Leftovers work beautifully, provided they are not too loose or creamy. Eggs: You will need 2 large eggs, lightly beaten. These help bind the mixture and give the puffs structure as they bake. Cheddar cheese: Measure 1 cup shredded sharp cheddar cheese. Its rich flavor…
-
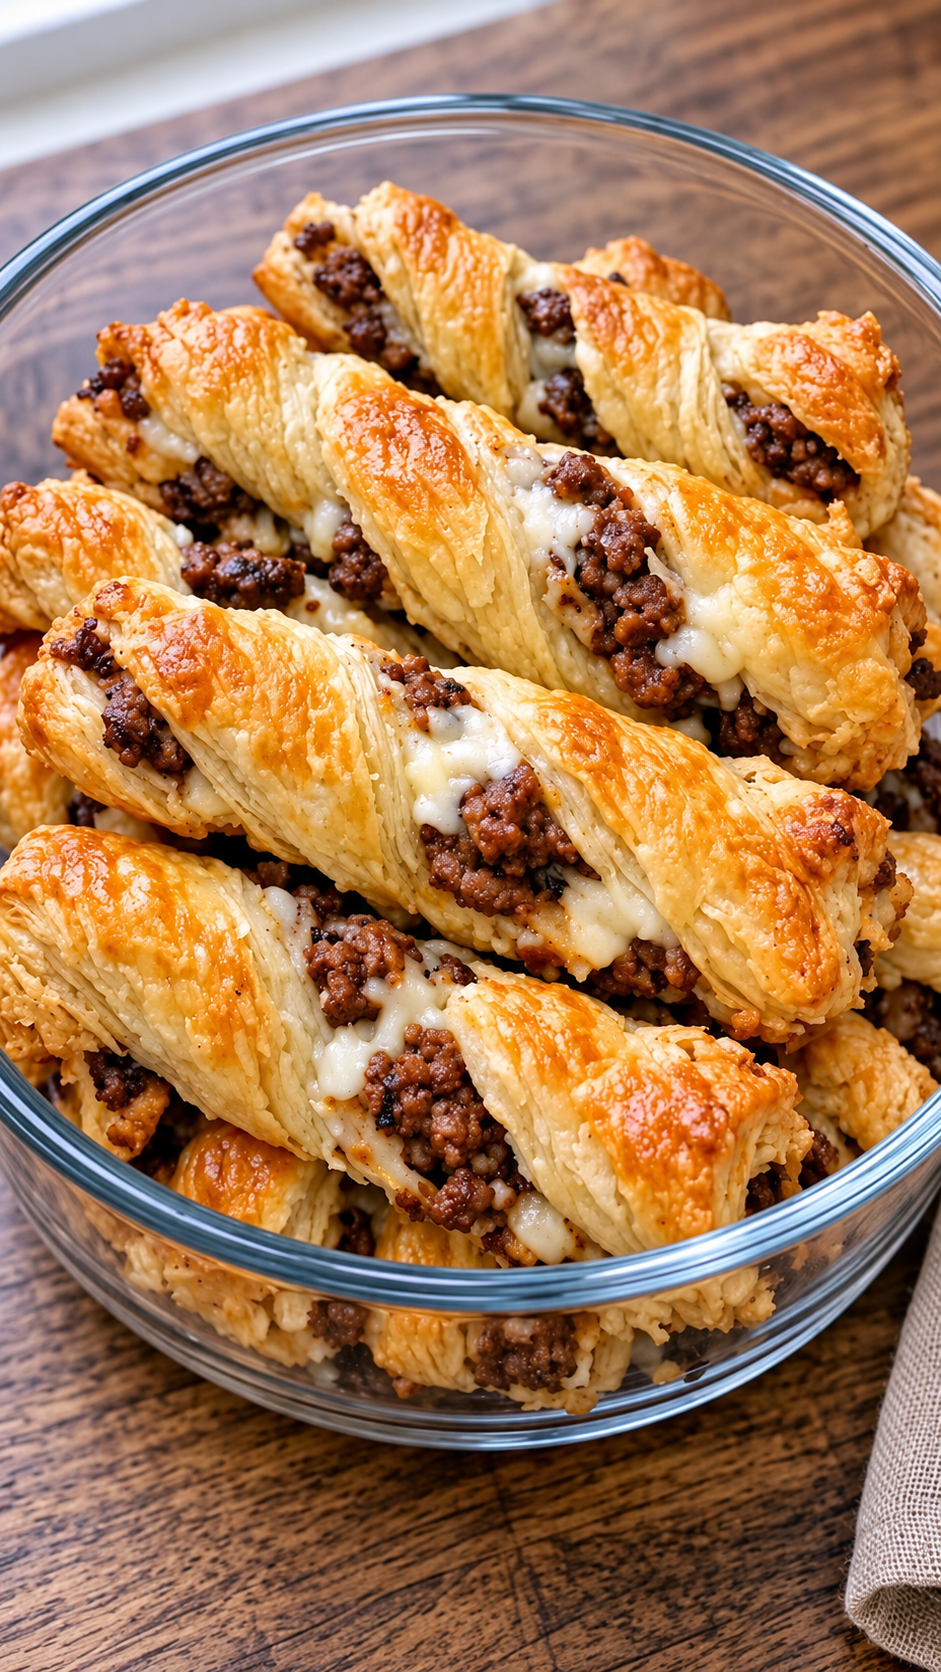
Easy Cheesy Ground Beef Puff Pastry Twists
Ingredients Puff pastry: Use 2 sheets of frozen puff pastry, thawed according to the package directions. Keep them refrigerated until you are ready to assemble the twists. Ground beef: You will need 1 pound of ground beef. A lean blend works well because it produces less grease inside the pastry. Olive oil and onion: Prepare…
-
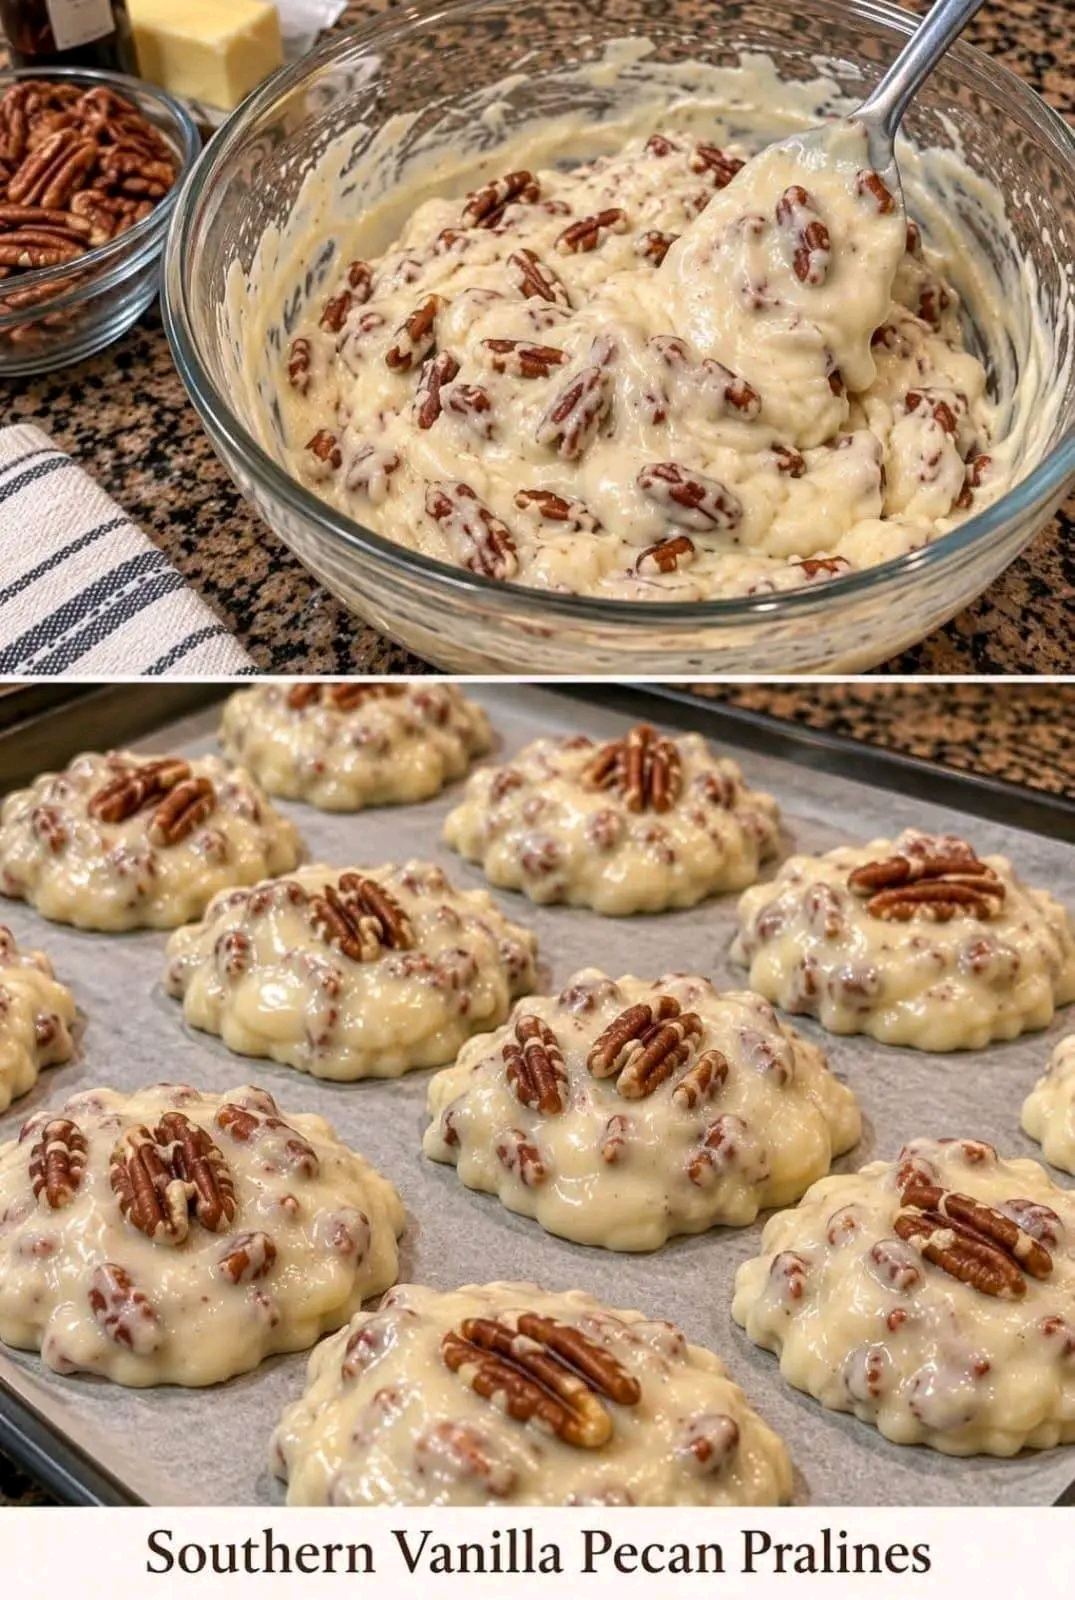
Southern vanilla pecan pralines
Southern Vanilla Pecan Pralines Ingredients 1½ cups granulated sugar. ½ cup packed light brown sugar. ½ cup heavy cream. ¼ cup whole milk. 2 tablespoons water. 4 tablespoons unsalted butter, cut into small pieces. 2 cups pecan halves or roughly chopped pecans. 2 teaspoons pure vanilla extract. ¼ teaspoon salt. Instructions Line two baking sheets…