
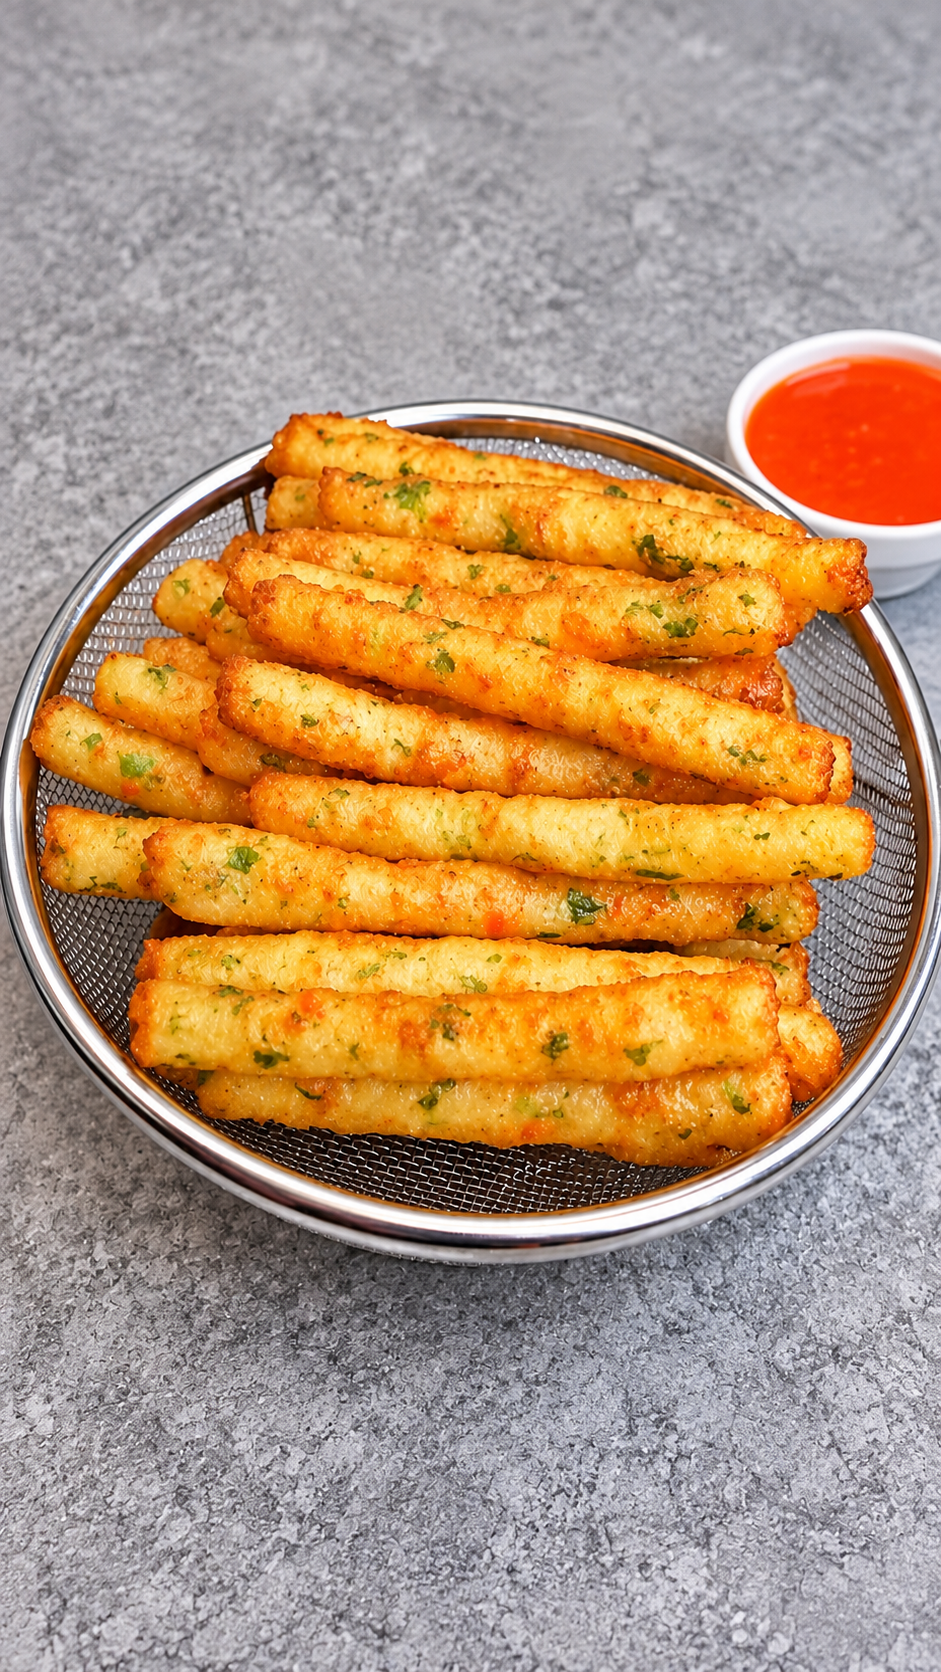
The Ultimate Guide to Perfect Crispy Potato Fingers
There is something universally irresistible about a perfectly crispy potato snack. Whether it is a rainy afternoon, a weekend gathering, or a late-night craving, potatoes have a way of bringing comfort and joy to any table.
These Crispy Potato Fingers elevate the humble potato into a work of culinary art. They feature a shatteringly crisp, golden-brown exterior that gives way to a fluffy, steaming, and savory interior.
Unlike standard French fries, these potato fingers are coated in a seasoned breadcrumb mixture. This coating is the secret to their incredible crunch and deep, complex flavor profile.
They are remarkably versatile. You can serve them as a fun appetizer, a party snack, or a delicious side dish to your favorite mains.
The best part is that you do not need to be a professional chef to master them. With a few simple techniques, anyone can achieve that perfect, restaurant-quality crunch at home.
In this comprehensive guide, we will explore the science behind the perfect potato, the essential ingredients, and a detailed step-by-step method. Let us dive into the world of making the ultimate Crispy Potato Fingers.
Part 1: The Science of the Perfect Potato
To make the best potato fingers, you must start by understanding the potato itself. Not all potatoes are created equal, and choosing the right variety is the first step toward success.
Choosing the Right Potato
For this recipe, you want a potato with a high starch content and low moisture. Russet potatoes are the gold standard for this. They bake up light and fluffy on the inside.
Yukon Gold potatoes are an excellent second choice. They have a slightly creamier texture and a naturally buttery flavor that pairs beautifully with the savory spices in the coating.
Avoid waxy potatoes, such as red potatoes or fingerlings. While delicious, they hold too much water and become dense and gluey when cut into sticks and fried or baked.
The Importance of Starch
Potatoes contain natural starches. When you cut into a potato, these starches are released, and they can cause the potato fingers to stick together or become soggy.
This is why soaking the cut potatoes in cold water is a non-negotiable step. The cold water washes away the surface starch, ensuring that the coating adheres properly and the final product is light and crisp.
The Role of the Coating
The coating is what separates these potato fingers from a standard fry. It acts as a protective barrier that seals in the potato’s moisture while simultaneously creating a crispy crust.
Using a three-step breading station—flour, egg, and breadcrumbs—is essential. The flour helps the egg adhere to the potato, and the egg acts as the glue that holds the breadcrumbs in place.
Part 2: Essential Ingredients and Tools
To make these incredible snacks, you will need a specific set of ingredients that work together to create the perfect flavor and texture.
The Core Ingredients
You will need three large Russet potatoes. Ensure they are firm and free of sprouts. For the coating, you will need all-purpose flour and cornstarch.
Cornstarch is a secret weapon. It creates a barrier that absorbs excess moisture and creates an incredibly light and crispy texture when heated.
You will also need one large egg to bind the coating. For the breadcrumbs, Panko is the absolute best choice. Panko breadcrumbs are larger and flakier than standard breadcrumbs, which creates more surface area for maximum crunch.
The Flavor Profile
The flavor of these potato fingers comes from a blend of pantry spices. You will need garlic powder, onion powder, smoked paprika, salt, and black pepper.
Fresh parsley is folded into the breadcrumbs to add a pop of color and a fresh, herbaceous flavor. It balances the richness of the fried or baked coating perfectly.
The Tools You Need
You do not need expensive equipment. You will need three shallow bowls for the breading station, a sharp knife, and a cutting board.
For cooking, you can use an air fryer, a standard oven, or a deep pan for frying. An air fryer is the most convenient and healthy method, but the oven works beautifully as well.
Part 3: The Step-by-Step Masterclass
Now that we understand the ingredients, let us walk through the exact process of creating these golden sticks of joy.
Step 1: Prep and Cut
Wash and peel your potatoes. Cut them into thick sticks, about half an inch thick and three to four inches long. Try to keep them uniform in size so they cook evenly.
Step 2: The Cold Water Soak
Place the potato sticks in a large bowl of ice-cold water. Let them soak for at least fifteen minutes. This step is vital for removing excess starch.
After soaking, drain the potatoes and dry them completely. Use a clean kitchen towel or paper towels to pat them dry. Any moisture left on the potato will create steam and ruin the crunch.
Step 3: Set Up the Breading Station
Set up three shallow bowls. In the first bowl, mix the flour, cornstarch, garlic powder, onion powder, paprika, salt, and pepper. In the second bowl, beat the egg. In the third bowl, combine the Panko breadcrumbs and fresh parsley.
Step 4: Coat the Potatoes
Work with one potato stick at a time. Roll it in the flour mixture, shaking off the excess. Then, dip it into the beaten egg, ensuring it is fully coated.
Finally, roll it in the Panko breadcrumb mixture. Press the breadcrumbs gently into the potato to ensure they stick. Place the coated sticks on a baking sheet in a single layer.
Step 5: Cooking Method – Air Fryer
If using an air fryer, preheat it to 400°F (200°C). Spray the potato fingers generously with cooking spray. Arrange them in a single layer in the basket, making sure they do not touch.
Air fry for twelve to fifteen minutes, shaking the basket halfway through. Cook until they are golden brown and crispy.
Step 6: Cooking Method – Oven
If using an oven, preheat it to 425°F (220°C). Line a baking sheet with parchment paper and arrange the potato fingers in a single layer.
Spray the tops lightly with cooking oil and bake for twenty to twenty-five minutes. Flip them halfway through to ensure even browning.
Step 7: Cooking Method – Deep Frying
If you prefer the classic method, heat a neutral oil in a deep pan to 350°F (175°C). Fry the potato fingers in small batches for three to four minutes until golden. Drain on paper towels.
Step 8: Serving and Dipping
Serve these potato fingers immediately while they are hot. They pair beautifully with a variety of dipping sauces, such as sweet chili sauce, ketchup, or a creamy garlic aioli.
Part 4: Troubleshooting and Pro Tips
Even with a great recipe, things can sometimes go wrong. Here are the answers to the most common questions about making potato fingers.
Why is my coating falling off?
This usually happens if the potatoes are too wet or if you missed the flour step. Always dry the potatoes thoroughly and ensure the flour creates a dry barrier before dipping them in the egg.
Why are they not crispy?
Sogginess usually comes from overcrowding the pan. If the potato fingers are touching, they will steam instead of getting crispy. Always cook them in a single layer with space between them.
Can I prepare these ahead of time?
Yes, you can bread the potato fingers and freeze them. Place them on a baking sheet and freeze until solid, then transfer them to a freezer bag. Bake or air fry them directly from frozen.
Part 5: Serving and Pairing
These Crispy Potato Fingers are incredibly versatile. Serve them on a metallic wire basket for a trendy, restaurant-style presentation.
Pair them with a spicy red sauce, a cooling yogurt dip, or a classic cheese sauce. They are also perfect alongside a burger or a fresh green salad.
Conclusion
The perfect potato finger is a balance of simple ingredients and careful technique. It relies on the right potato, the proper removal of starch, and a well-seasoned breading station.
Once you master this recipe, you will never look at a standard french fry the same way again. They are a crowd-pleasing snack that is guaranteed to disappear from the plate in minutes.
Whether you bake them, air fry them, or fry them, these Crispy Potato Fingers are the perfect addition to your recipe repertoire.
-
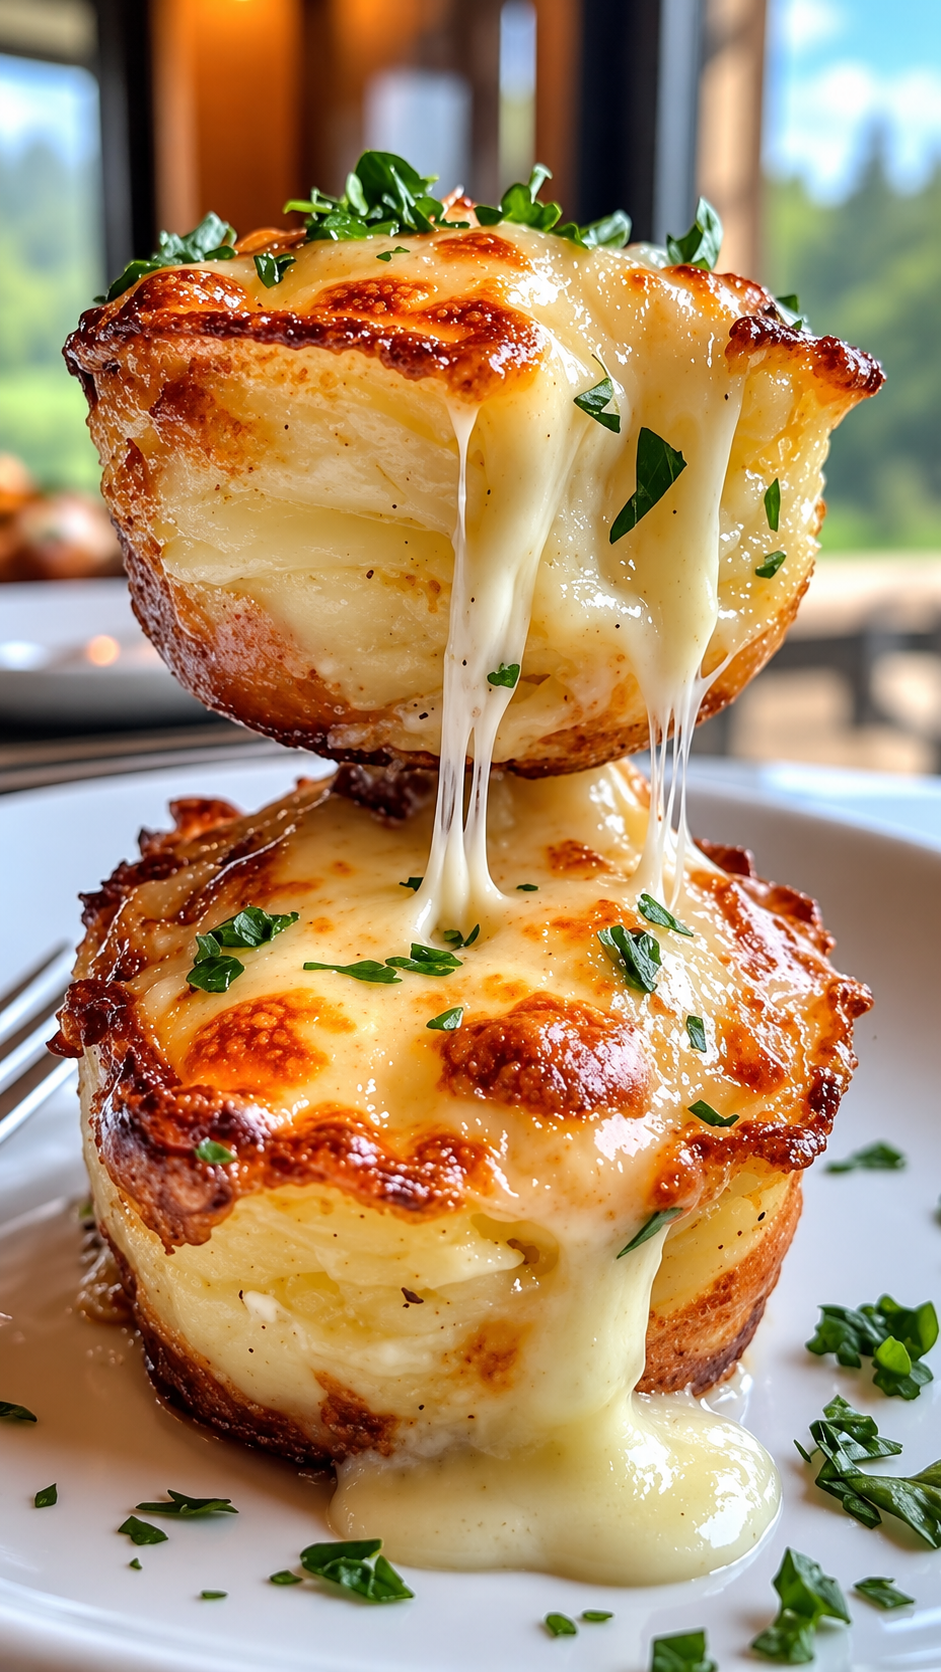
Cheesy Mashed Potato Puffs
Ingredients Mashed potatoes: Use 3 cups thick, cooled mashed potatoes. Leftovers work beautifully, provided they are not too loose or creamy. Eggs: You will need 2 large eggs, lightly beaten. These help bind the mixture and give the puffs structure as they bake. Cheddar cheese: Measure 1 cup shredded sharp cheddar cheese. Its rich flavor…
-
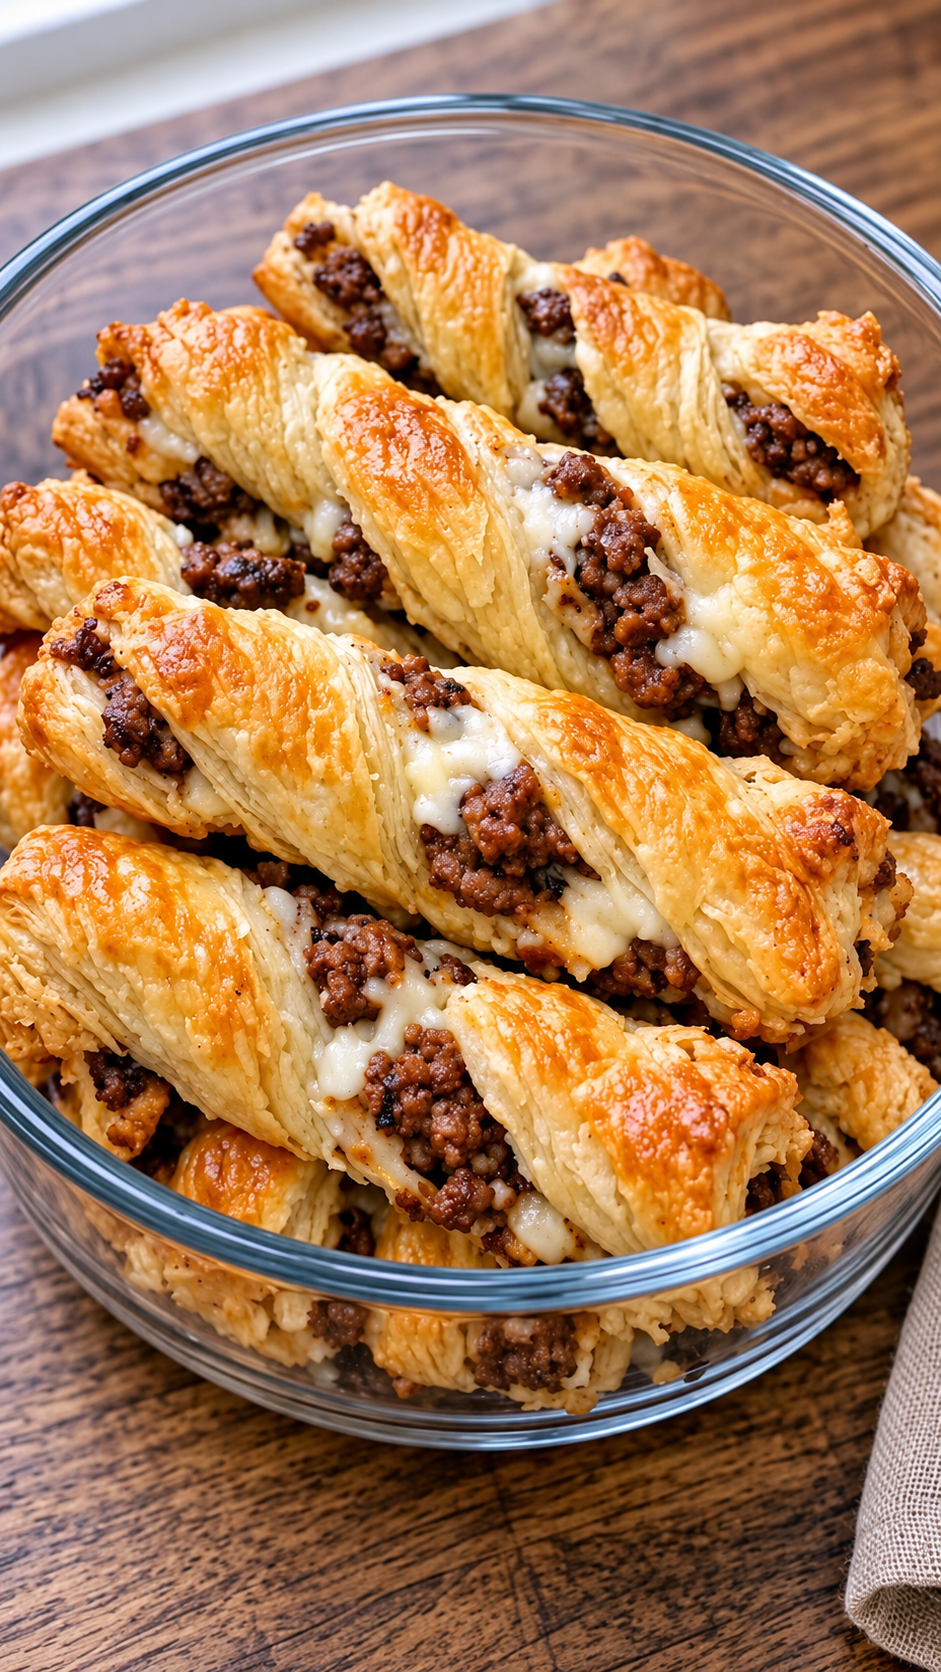
Easy Cheesy Ground Beef Puff Pastry Twists
Ingredients Puff pastry: Use 2 sheets of frozen puff pastry, thawed according to the package directions. Keep them refrigerated until you are ready to assemble the twists. Ground beef: You will need 1 pound of ground beef. A lean blend works well because it produces less grease inside the pastry. Olive oil and onion: Prepare…
-
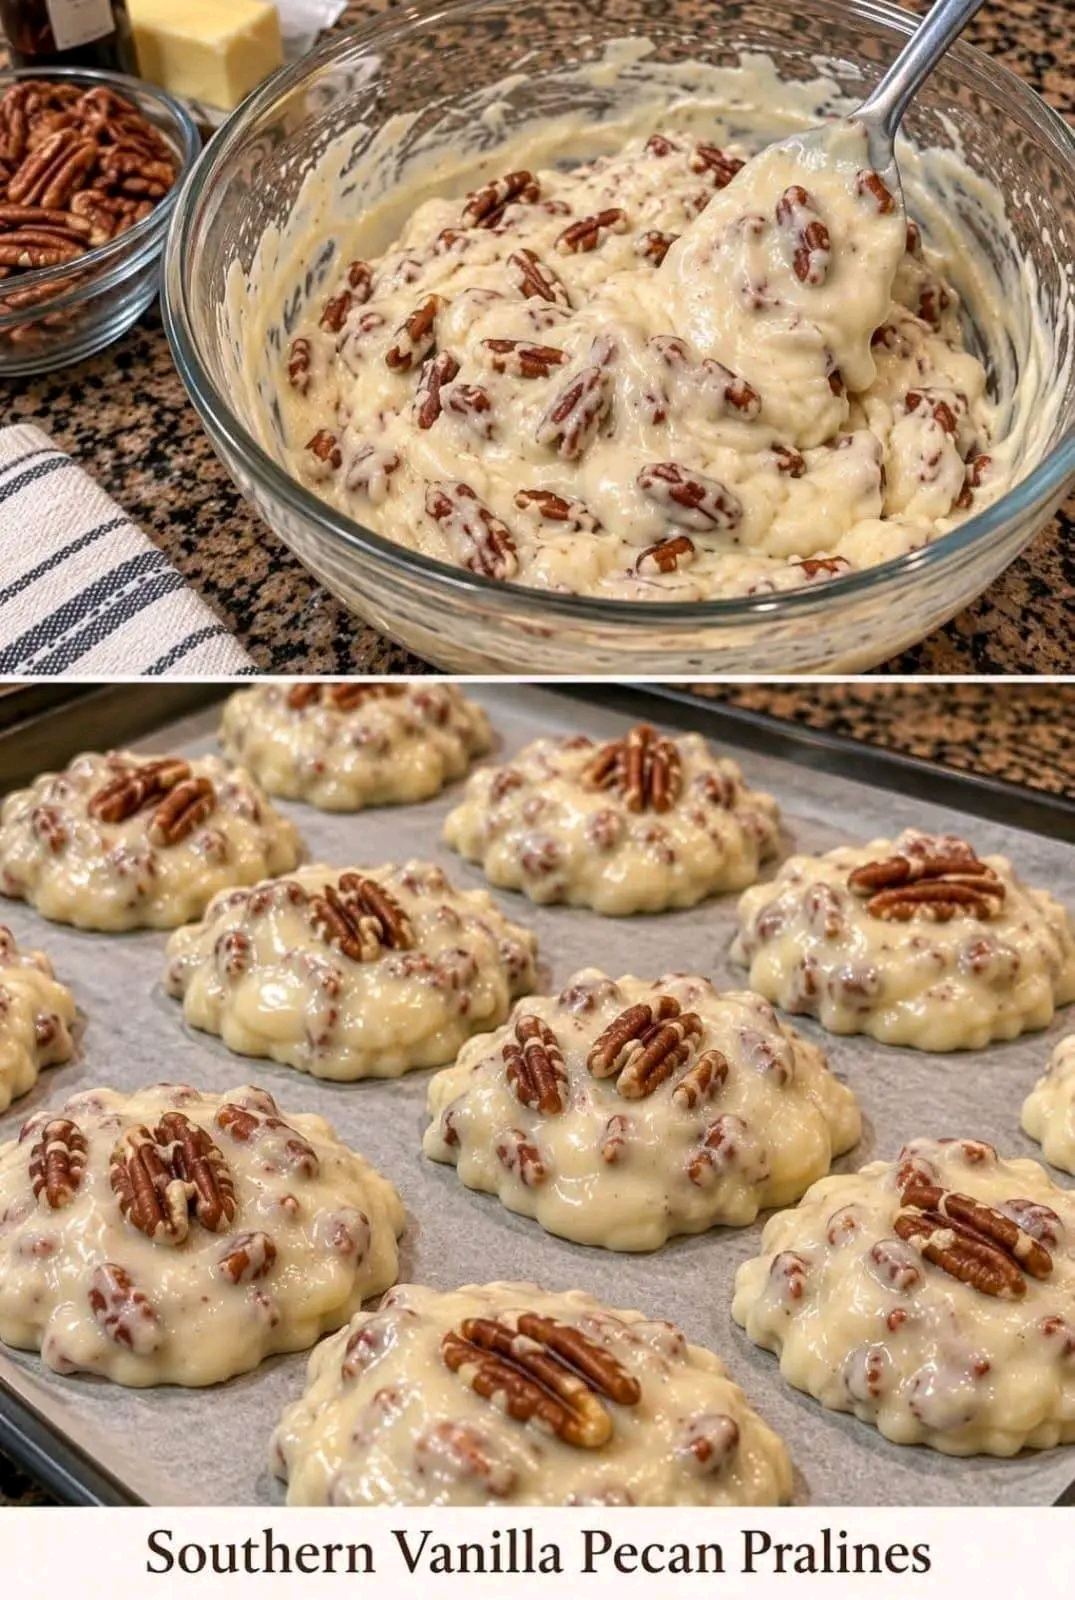
Southern vanilla pecan pralines
Southern Vanilla Pecan Pralines Ingredients 1½ cups granulated sugar. ½ cup packed light brown sugar. ½ cup heavy cream. ¼ cup whole milk. 2 tablespoons water. 4 tablespoons unsalted butter, cut into small pieces. 2 cups pecan halves or roughly chopped pecans. 2 teaspoons pure vanilla extract. ¼ teaspoon salt. Instructions Line two baking sheets…